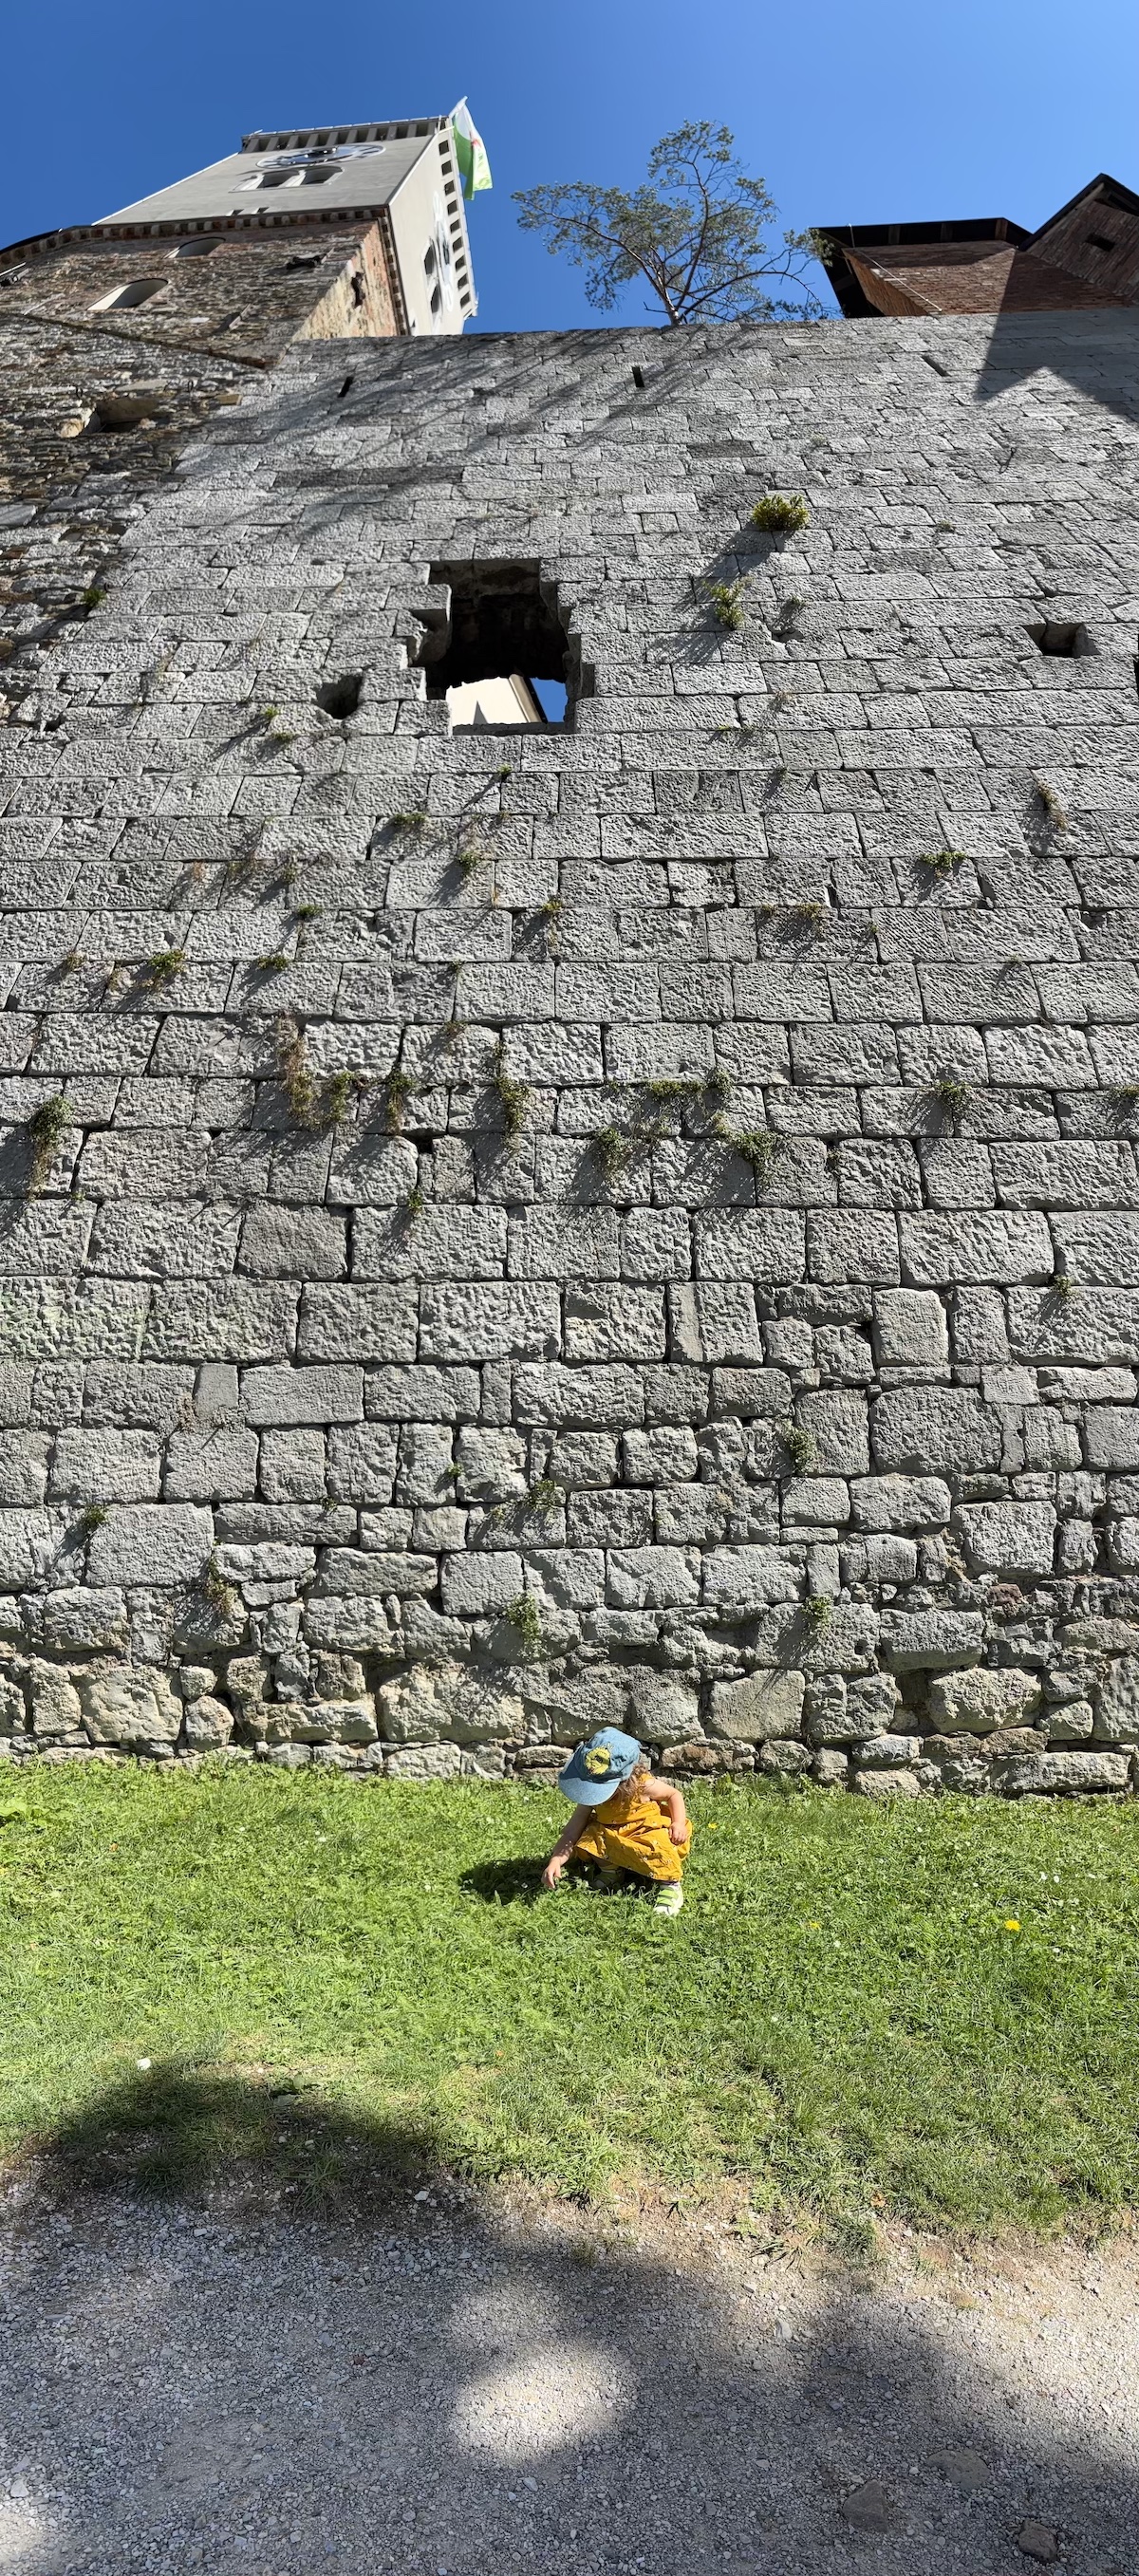
If you’ve got an iPhone, then you’ve got an incredibly powerful mobile camera in your pocket. It’s capable of taking all kinds of shots in all kinds of conditions, with end results that are going to stand up well to dedicated digital cameras in all but the most demanding scenarios.
Part of the appeal of iPhones and iPhone photography is that you can get great photos (and videos) by just pointing and shooting, without worrying too much about settings or setup. But if you dig deeper into what the default Camera app is capable of, you’ve got access to more modes and features than you may have realized.
These different options can be useful if you need something out of the ordinary, and they can really help your iPhone snaps stand out from the crowd. Fire up the Camera app on your iPhone and let’s take a look at what you can do.
Note that the directions given here assume you’re holding your iPhone in portrait orientation, with the screen towards you—if you flip to landscape mode, the buttons at the top will be at the side, for example.
Photo

When you launch the iPhone Camera, you’re taken to the standard Photo mode by default. As you move the camera to frame your shot, you may see the macro mode (a small flower icon, bottom left) and the night mode (a crescent moon icon, top right) become active, depending on what’s in view and how well lit it is.
You can zoom in and out by pinching the screen, or by tapping the zoom buttons at the bottom of the viewfinder window. Tap on any spot in the viewfinder to set the focus point for a photo; otherwise the iPhone will do this automatically. To lock the focus (so it doesn’t change as you move the phone), tap and hold.
After tapping to set focus, you can also slide your finger up or down the viewfinder screen to adjust the exposure of the photo—essentially adjusting its brightness by changing how much light is let into the lens. The modifications you make will be instantly previewed, and again the iPhone will set this automatically if you don’t make any adjustments.
At the top of the screen, you’re able to tap the six dots (top right) to change a variety of other settings: You can control the flash and the timer from here, as well as turning the night mode on or off manually and changing the aspect ratio of your shot.
On the same pop-up you’ve also got Exposure (for manually adjusting the exposure level), and Styles and Filter, which both give you a choice of preset looks for your images, before you take them—the filters include Vivid, Mono (monochrome), and Dramatic Warm, for example. It’s like doing a little bit of photo editing in advance.
A lot of the above options are available no matter what photo mode you’re in. To switch to a different one, swipe left on the Photo button underneath the shutter button.
Portrait
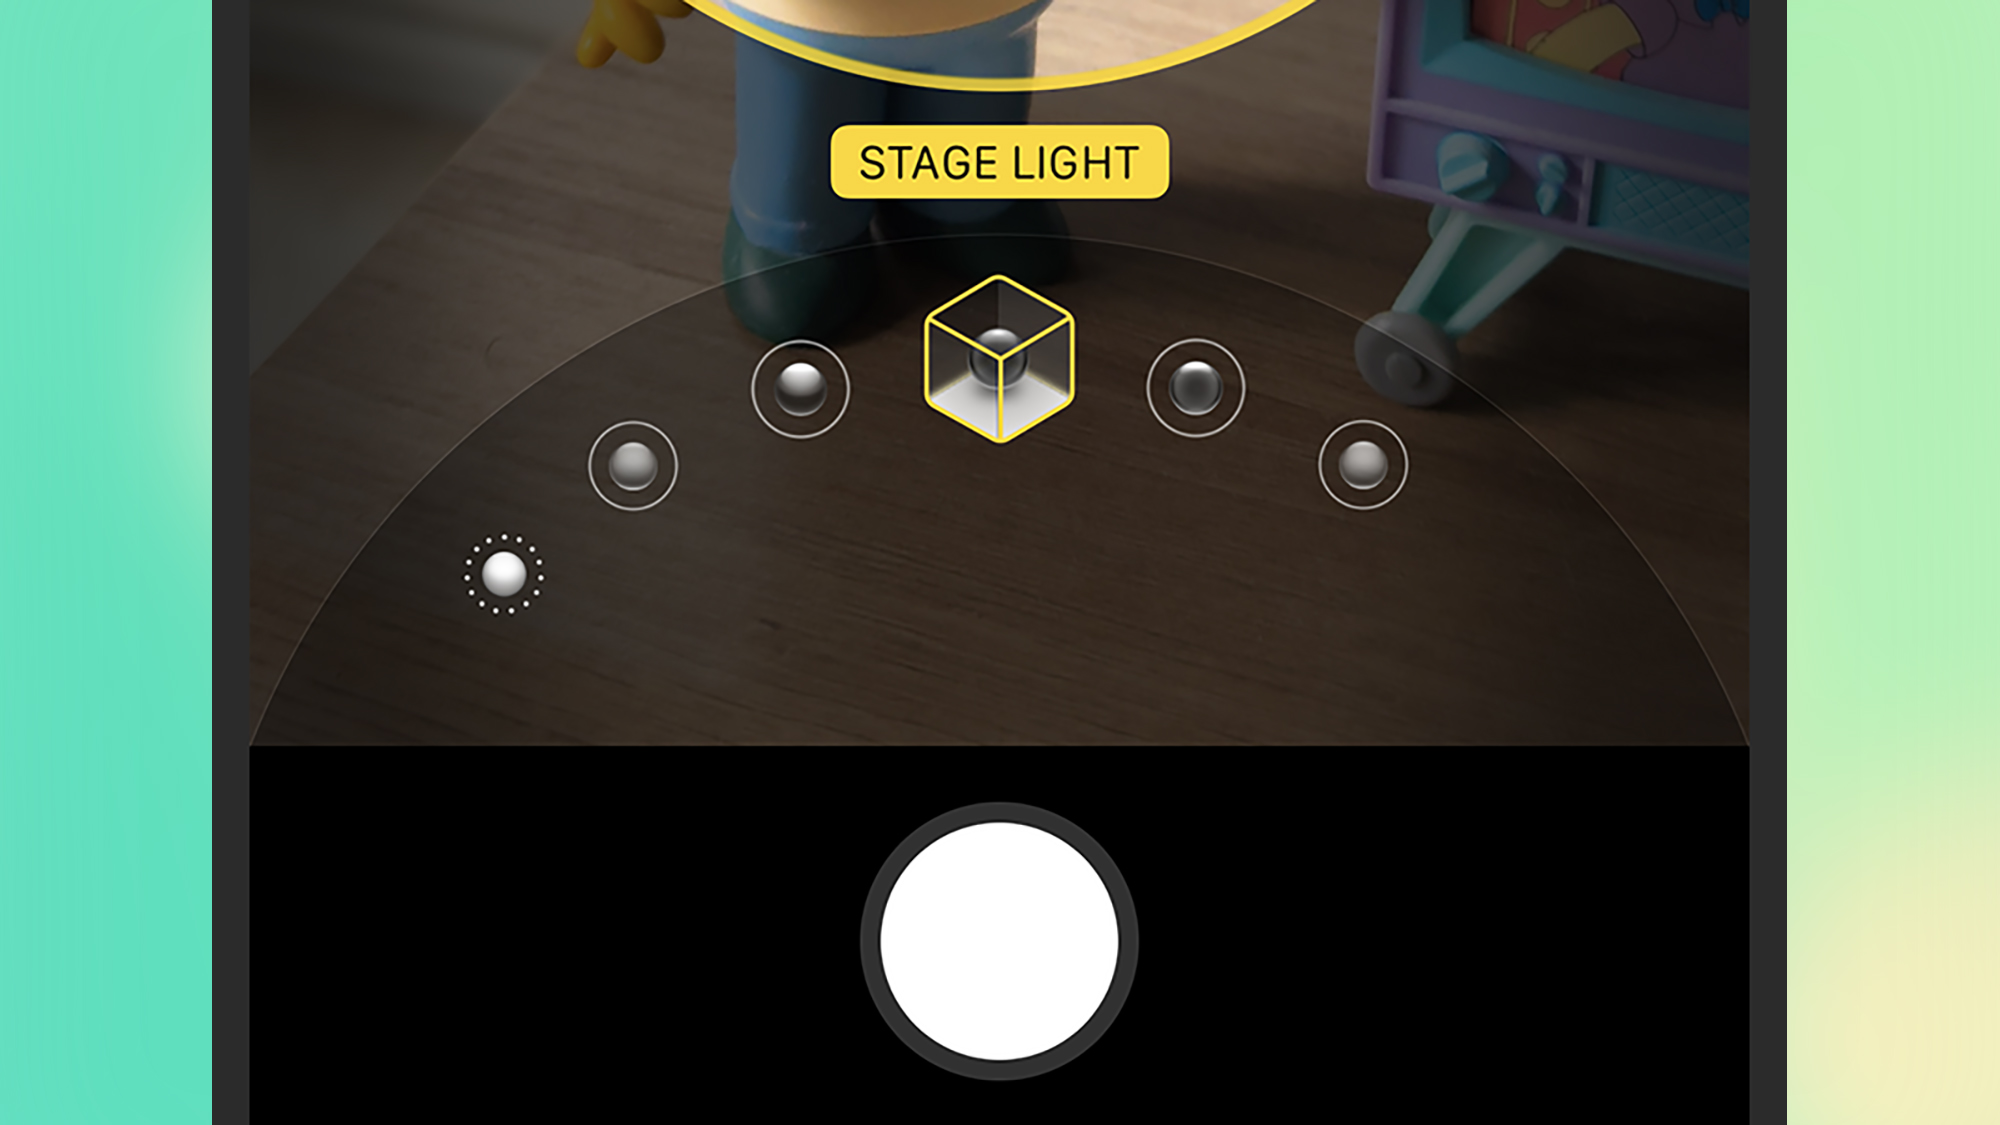
Portrait mode is, as the name suggests, for shooting portraits. It creates a depth-of-field effect—a gentle background blur, essentially—around someone or something that’s close to you (the mode itself will actually tell you if you need to move closer or further away).
When the subject is correctly framed, you’ll see a lighting choice selected in the panel just above the shutter button: Natural Light is the default choice. Swipe your finger left and right on this panel to move between different options, including Contour Light (dramatic shadows) and High-Key Light Mono (a grayscale subject on a white background).
While you’re shooting the image, tap the six dots (top right) then Aperture, and you’re able to adjust the background blur strength: Just move the slider on screen to the left or right. You can actually change the lighting and the blur effect afterwards in the Photo app. Your iPhone keeps all the necessary information about the captured image, so if it hasn’t come out quite right the first time, it’s easy to make adjustments later.
Spatial
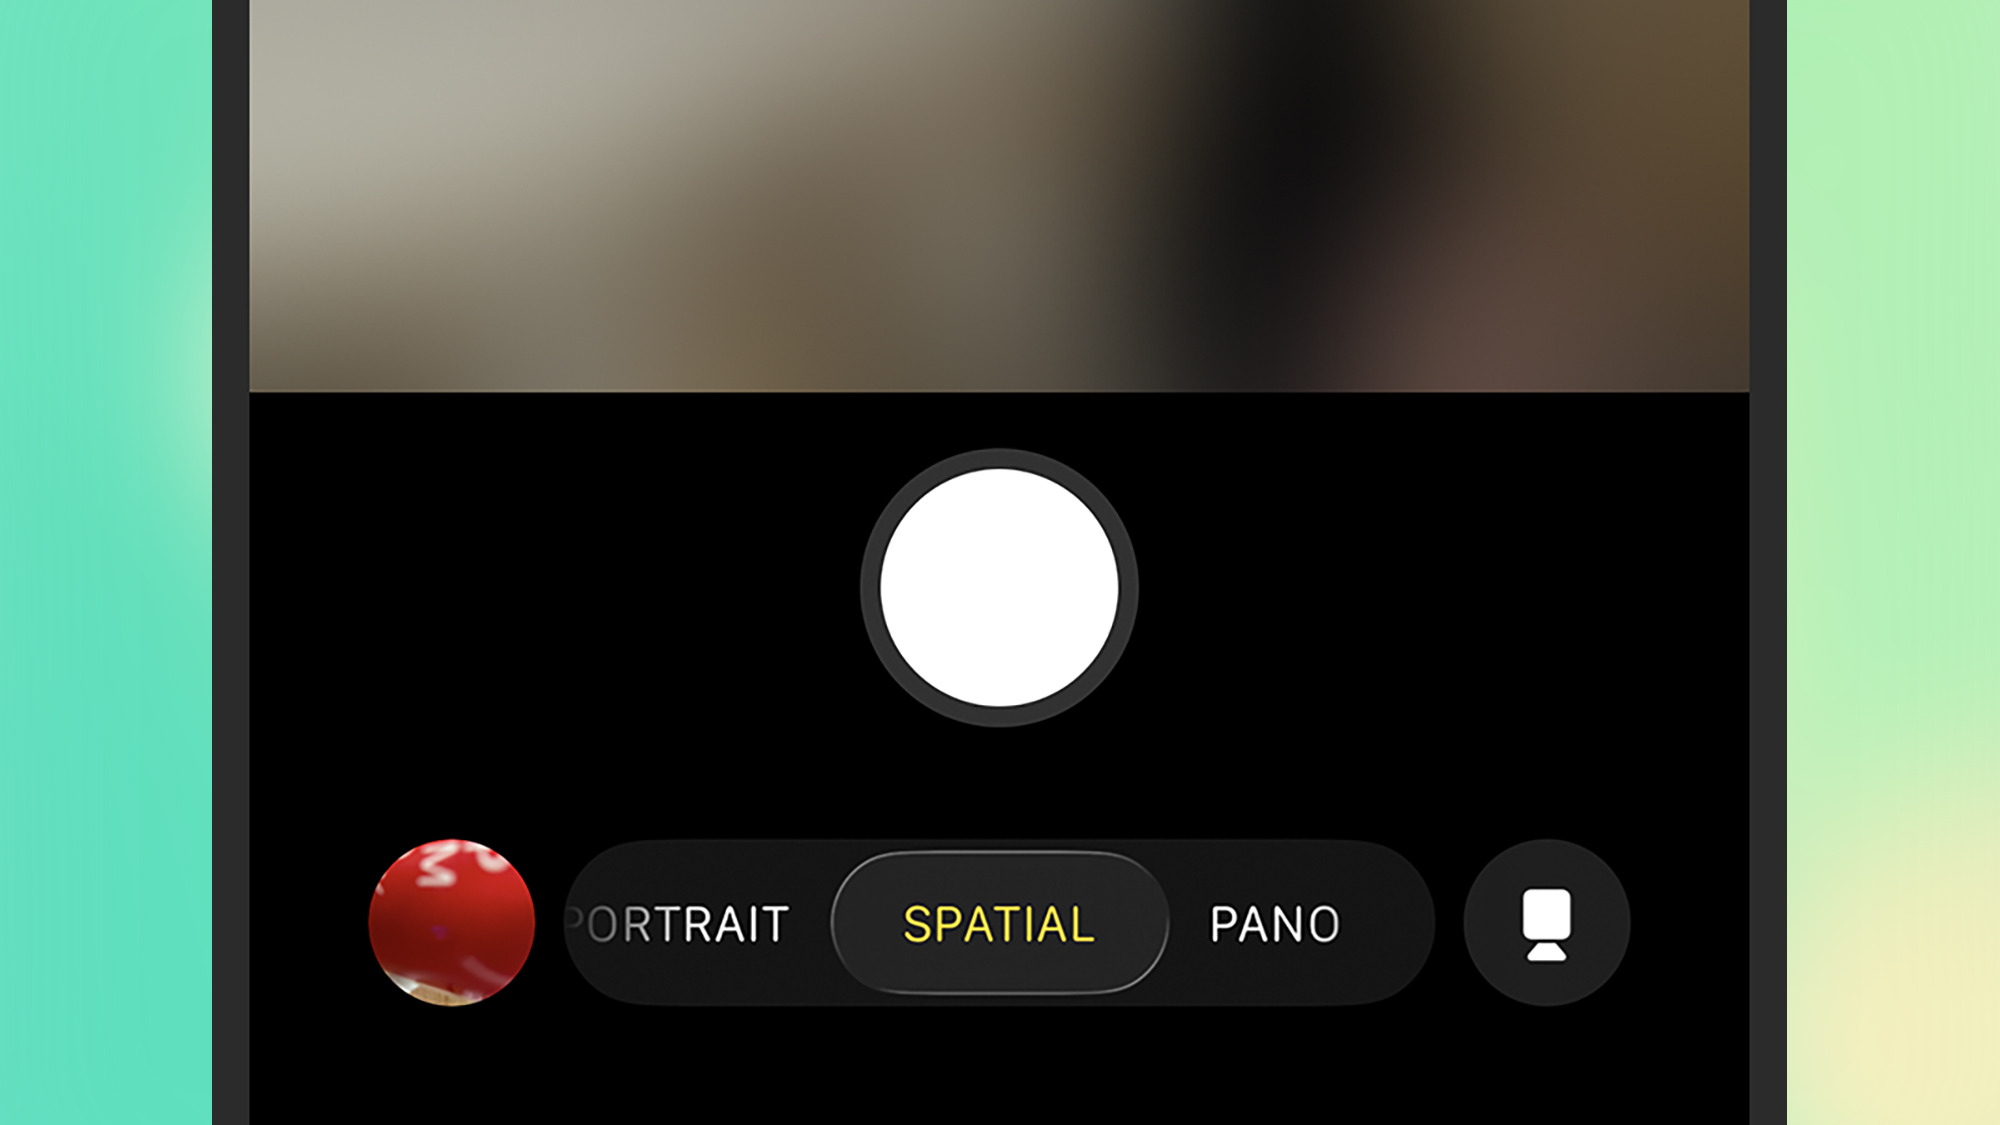
The next mode is Spatial, and this is a bit of a niche one. (You’ll only see this mode if you have an iPhone 15 Pro, an iPhone 15 Pro Max, or any iPhone 16 or iPhone 17 model.) It takes photos and videos with 3D depth information included, so you can ‘look around’ them to some extent.
However, to get the full immersive effect on spatial photos, you need to view them in an Apple Vision Pro—so this isn’t a mode that most people are going to make much use of. On other devices, spatial photos will look like any other photos.
To take the best spatial photos, Apple recommends keeping your phone steady and level and in landscape mode, and framing your subjects 3-8 feet (that’s 0.9-2.4 meters) away from the camera. The lighting should be even and bright, and you might see some guidance appear on screen to make sure everything is properly framed.
Pano
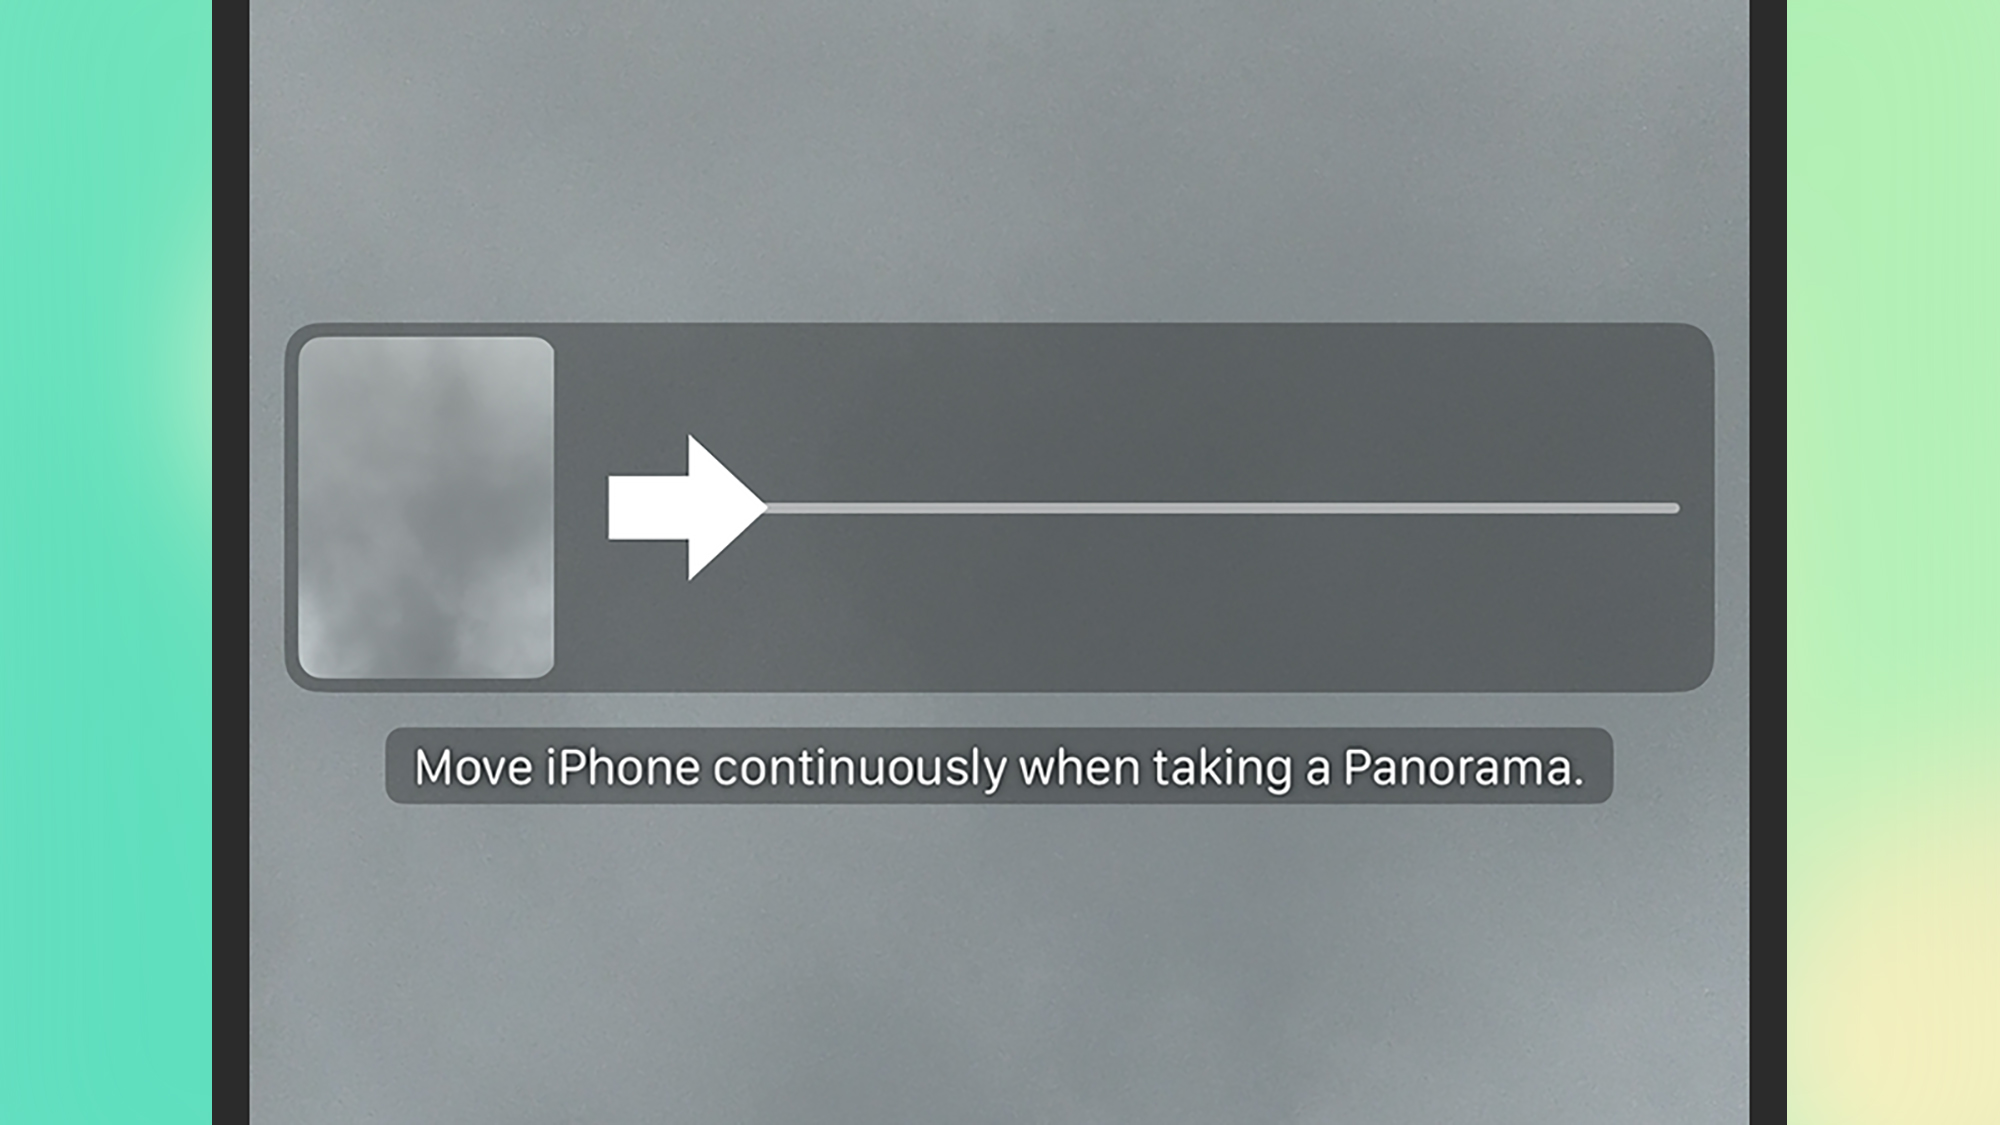
Pano is the panorama mode, which is super-wide shots: These are suitable for taking in wide landscapes, and they can be taken with your phone in either portrait or landscape mode. As soon as you launch the mode, you’ll see an arrow on screen, showing you how to move your iPhone to take the shot.
Once you press the shutter button, you need to keep your iPhone and the camera moving as directed. Try to keep your movements slow, steady, and consistent for the best results, and keep the arrow on the line—your iPhone will do the job of stitching together all the individually captured images and making them into a panorama.
Remember that panorama photos don’t need to always be horizontal. You can take photos of tall objects without using the .5 by flipping your phone horizontal and moving the camera vertically in pano mode.