Since last year Google has been testing an online video editor for businesses and organizations signed up to Google Workspace—and now, it’s rolling out to individual users too, free of charge.
It’s called Google Vids, and if you need to do some basic video editing, it’s worth looking at. There’s nothing to download and install, and it’s easy enough to pick up even if you’ve never used any video editing software before.
The web app lets you import clips from elsewhere, make recordings of your screen or through your webcam, and convert slideshows into videos. Templates are available to help you get started as quickly as possible.
If you pay for the Google AI Pro ($20/month) or Google AI Ultra ($250/month) plans, then you get some AI extras included with Google Vids: AI-generated clips from prompts and photos, and AI avatars you can drop into your creations.
Here’s a quick guide to getting started and what Vids is capable of, assuming you’ve signed up for an AI plan. If you don’t have the AI extras, much of the interface is similar, but you won’t be able to drop AI-generated elements into your timeline.
Creating new videos
You can get started with Google Vids by going to https://vids.google.com or opening up Google Drive on the web and choosing New > Google Vids from the menu on the left. The opening splash screen outlines all the different features available to you, from starting with a blank canvas to recording yourself through your webcam.

Click Templates, for example, and you’ll see some of the ways Google Vids can be used—it’s a good starting point if you’re a complete beginner. You can opt to insert one of the scenes of the template as a starting point, or import everything. Alternatively, click Convert slides, and you’ll be prompted to pick a Google Slides presentation you want to turn into a video.
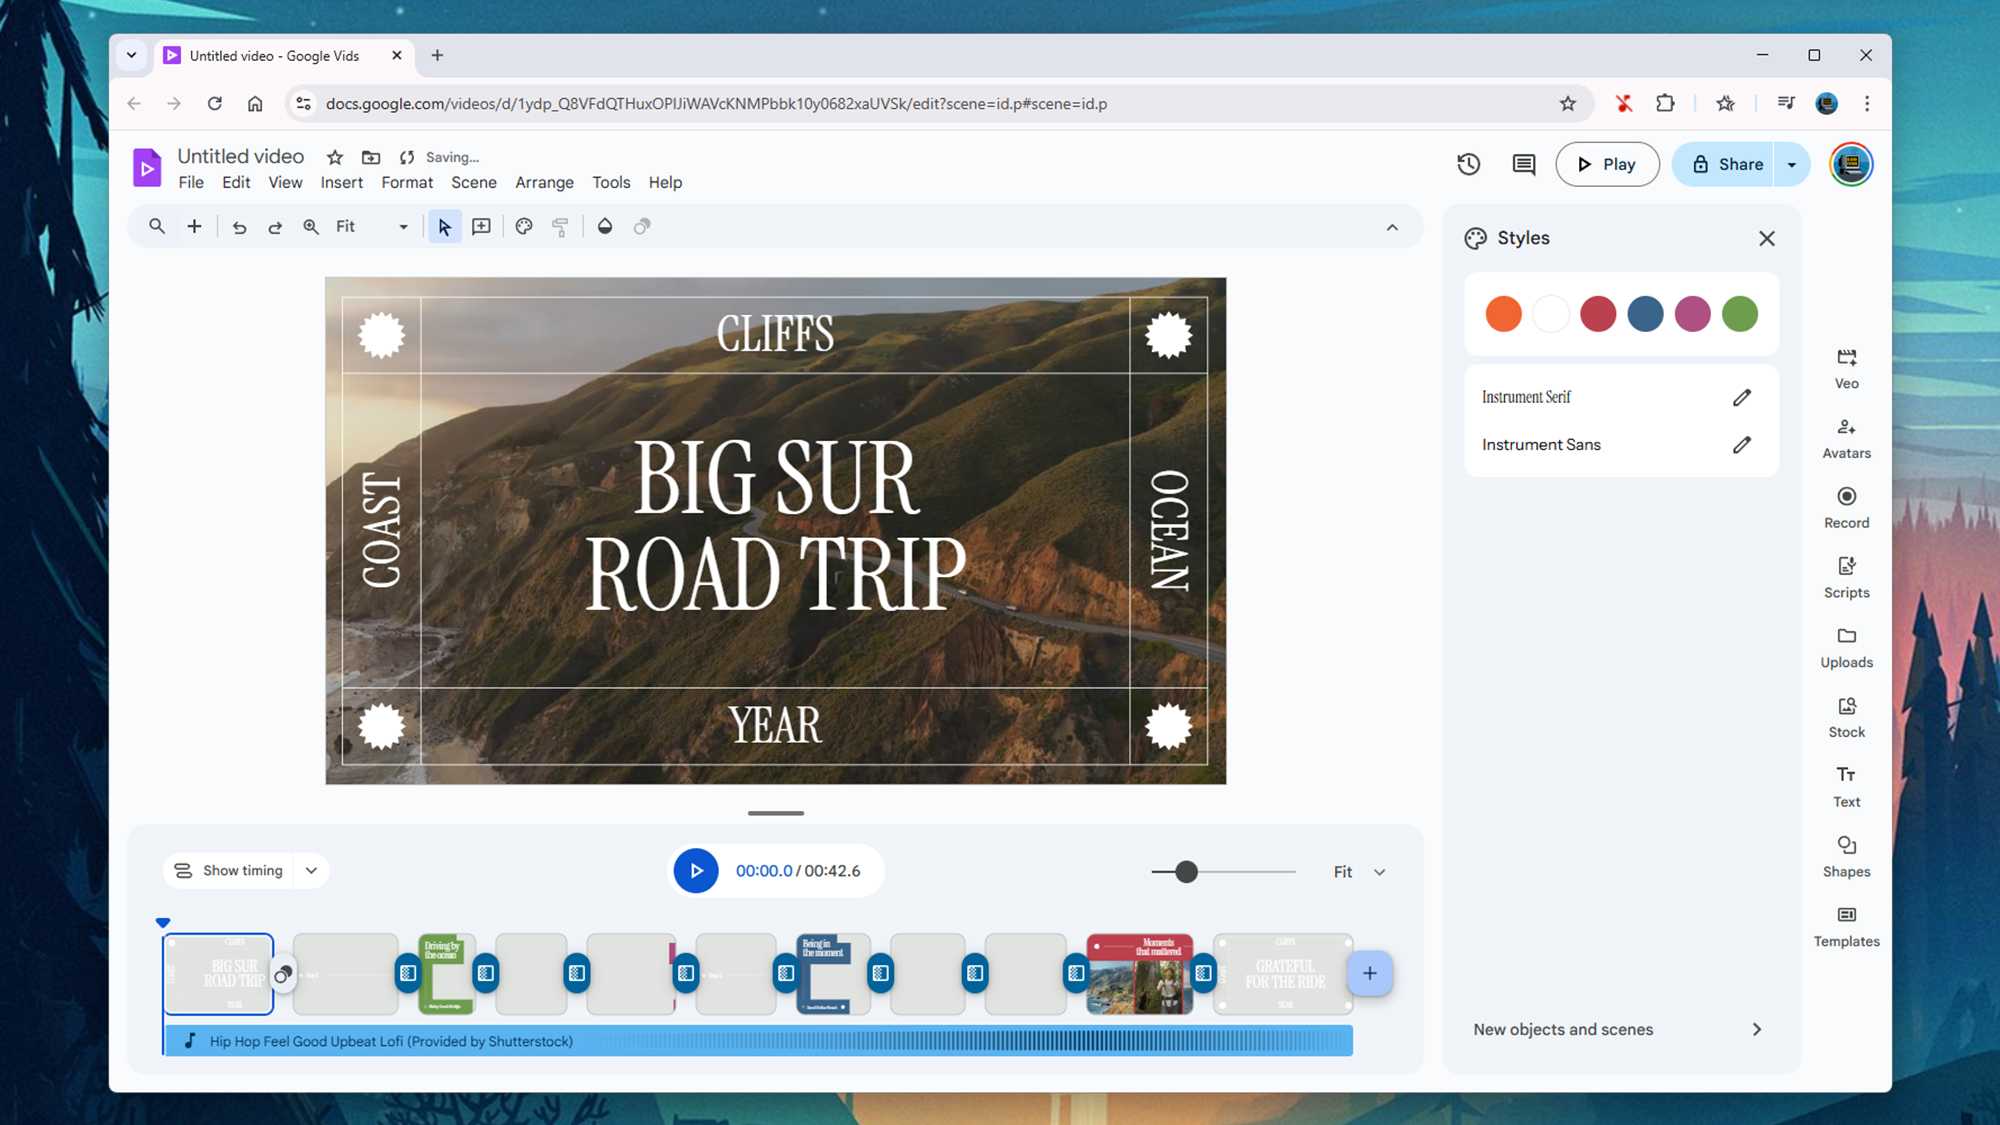
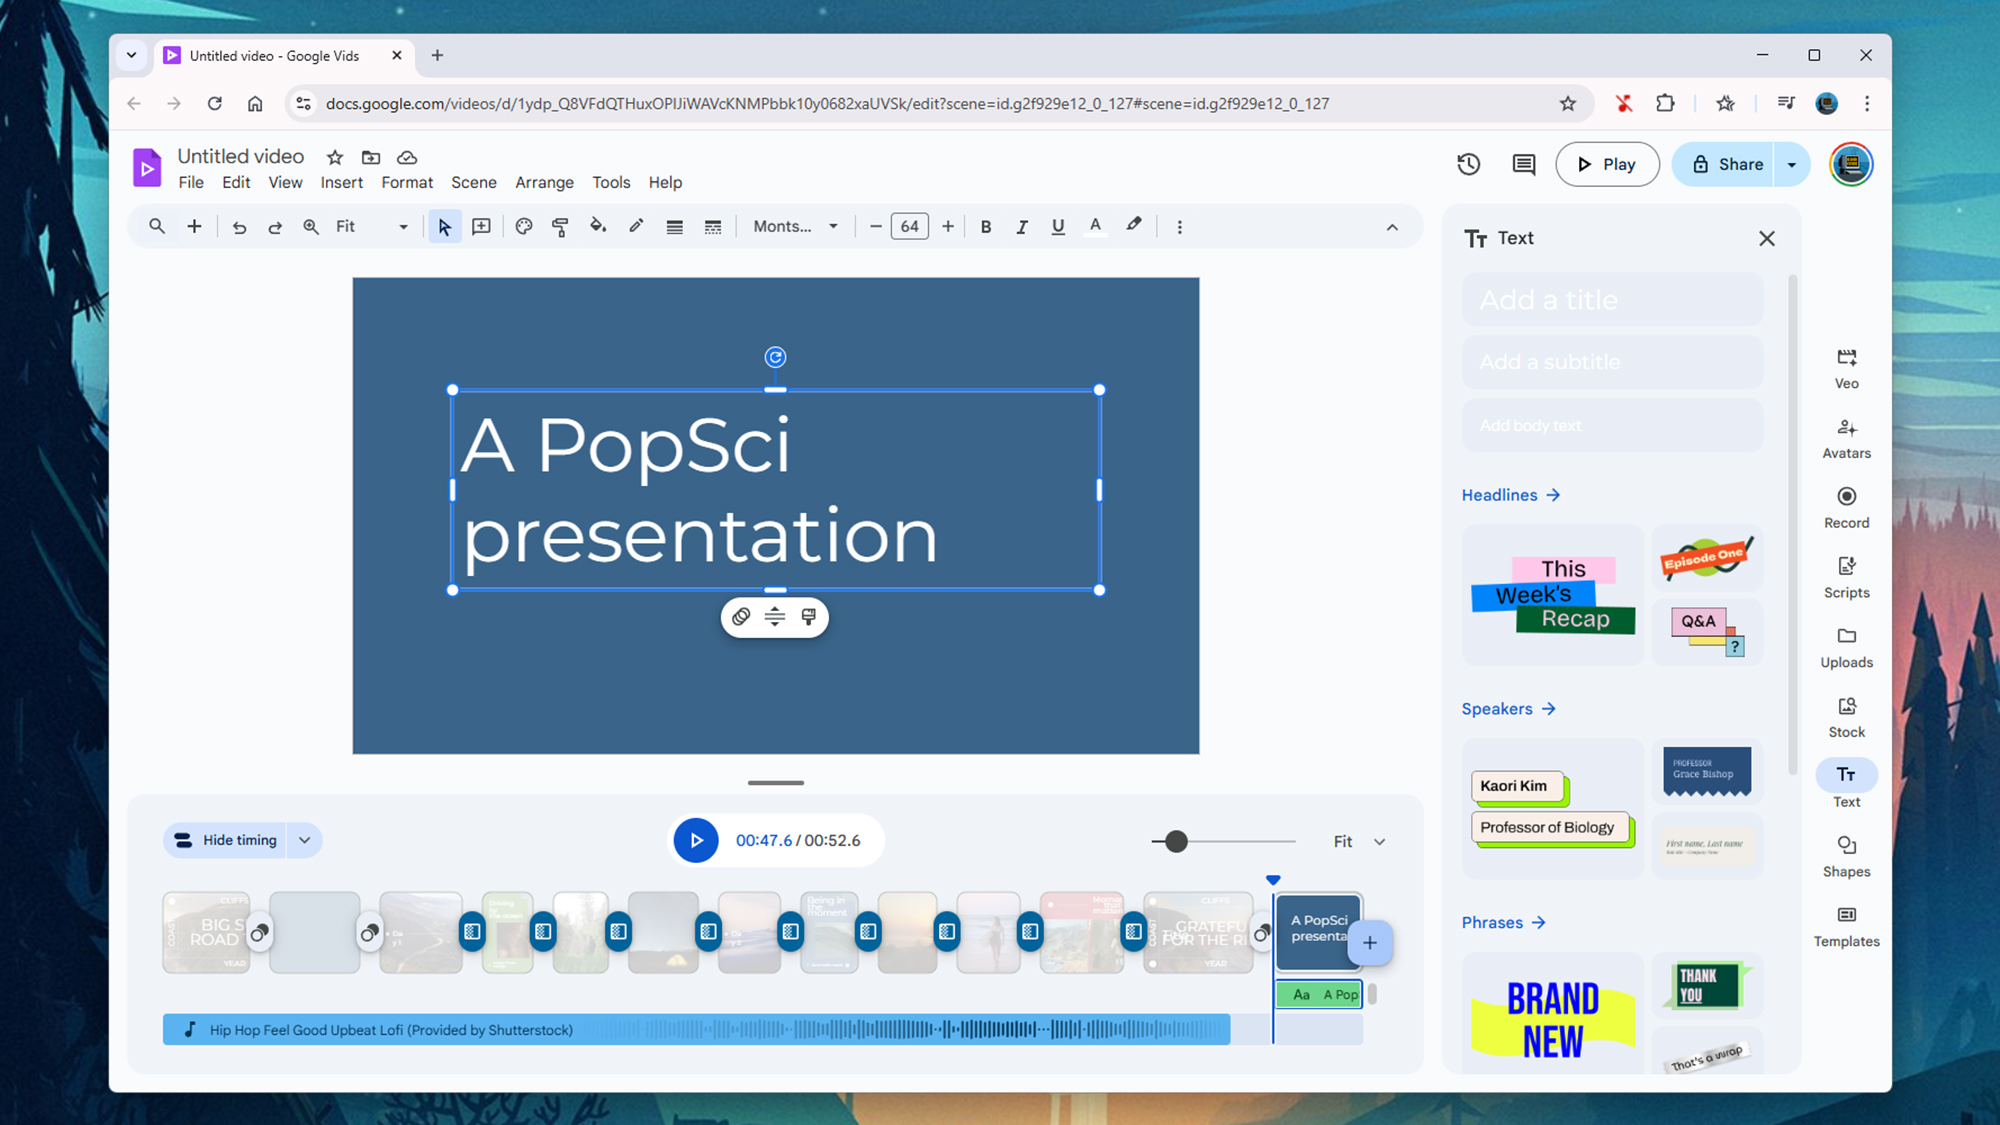
Choose Upload, and you’ll be able to to populate the video project timeline with videos and photos from Google Drive, Google Photos, or your computer. If you’re feeling more confident with Google Vids and its interface, choose Blank vid and you’ll be dropped into the main timeline interface, with your video clips along the bottom and an array of tools available on the right.
The basic building blocks of the interface are the same as they are in other timeline-based video editors. You can click anywhere in the timeline to jump to a specific frame, and your clips (or scenes) are presented in chronological order, with the audio track underneath (if there is one). If transitions between scenes have been added, they appear as smaller thumbnails between the separate clips.
You can click the play button just below the main preview to see individual scenes or the project as a whole, while the larger Play button in the top right corner will play the entire video project as big as it will go in your browser window. As always with Google’s online apps, any changes you make are saved instantly.
Using the Google Vids tools
We can’t take you through every aspect of the Google Vids feature set, but we can highlight some key features. You can just jump in and start playing around with what’s on offer; you’re not going to break anything. You might want to set up an experimental project where you can play around with the different tools and get a feel for the interface.
The Uploads option on the right is how you get all your existing photos, videos, and audio clips into the project, and the Record option lets you import footage from a webcam or other connected camera. Just click on a file to import it: You can then click and drag it into position, or drag the edges of the scene to extend it (this can be useful for still images or for title cards).
To add title cards, click Text on the right, then choose Add a title, Add a subtitle, or Add body text to drop elements into the current slide: You can put text on top of images and videos as well as blank blocks of color. If you then choose Scene > Styles > Customize styles you can adjust the text font and colors. To create a new style, choose New objects and scenes from the Styles dialog.
As you get more comfortable with the way Google Vids works, you can experiment with dragging different elements into different positions within scenes. Via the Arrange menu you can get your various elements arranged within a scene, and you can use the Format > Animation option to create fades, slides, and other effects with them.
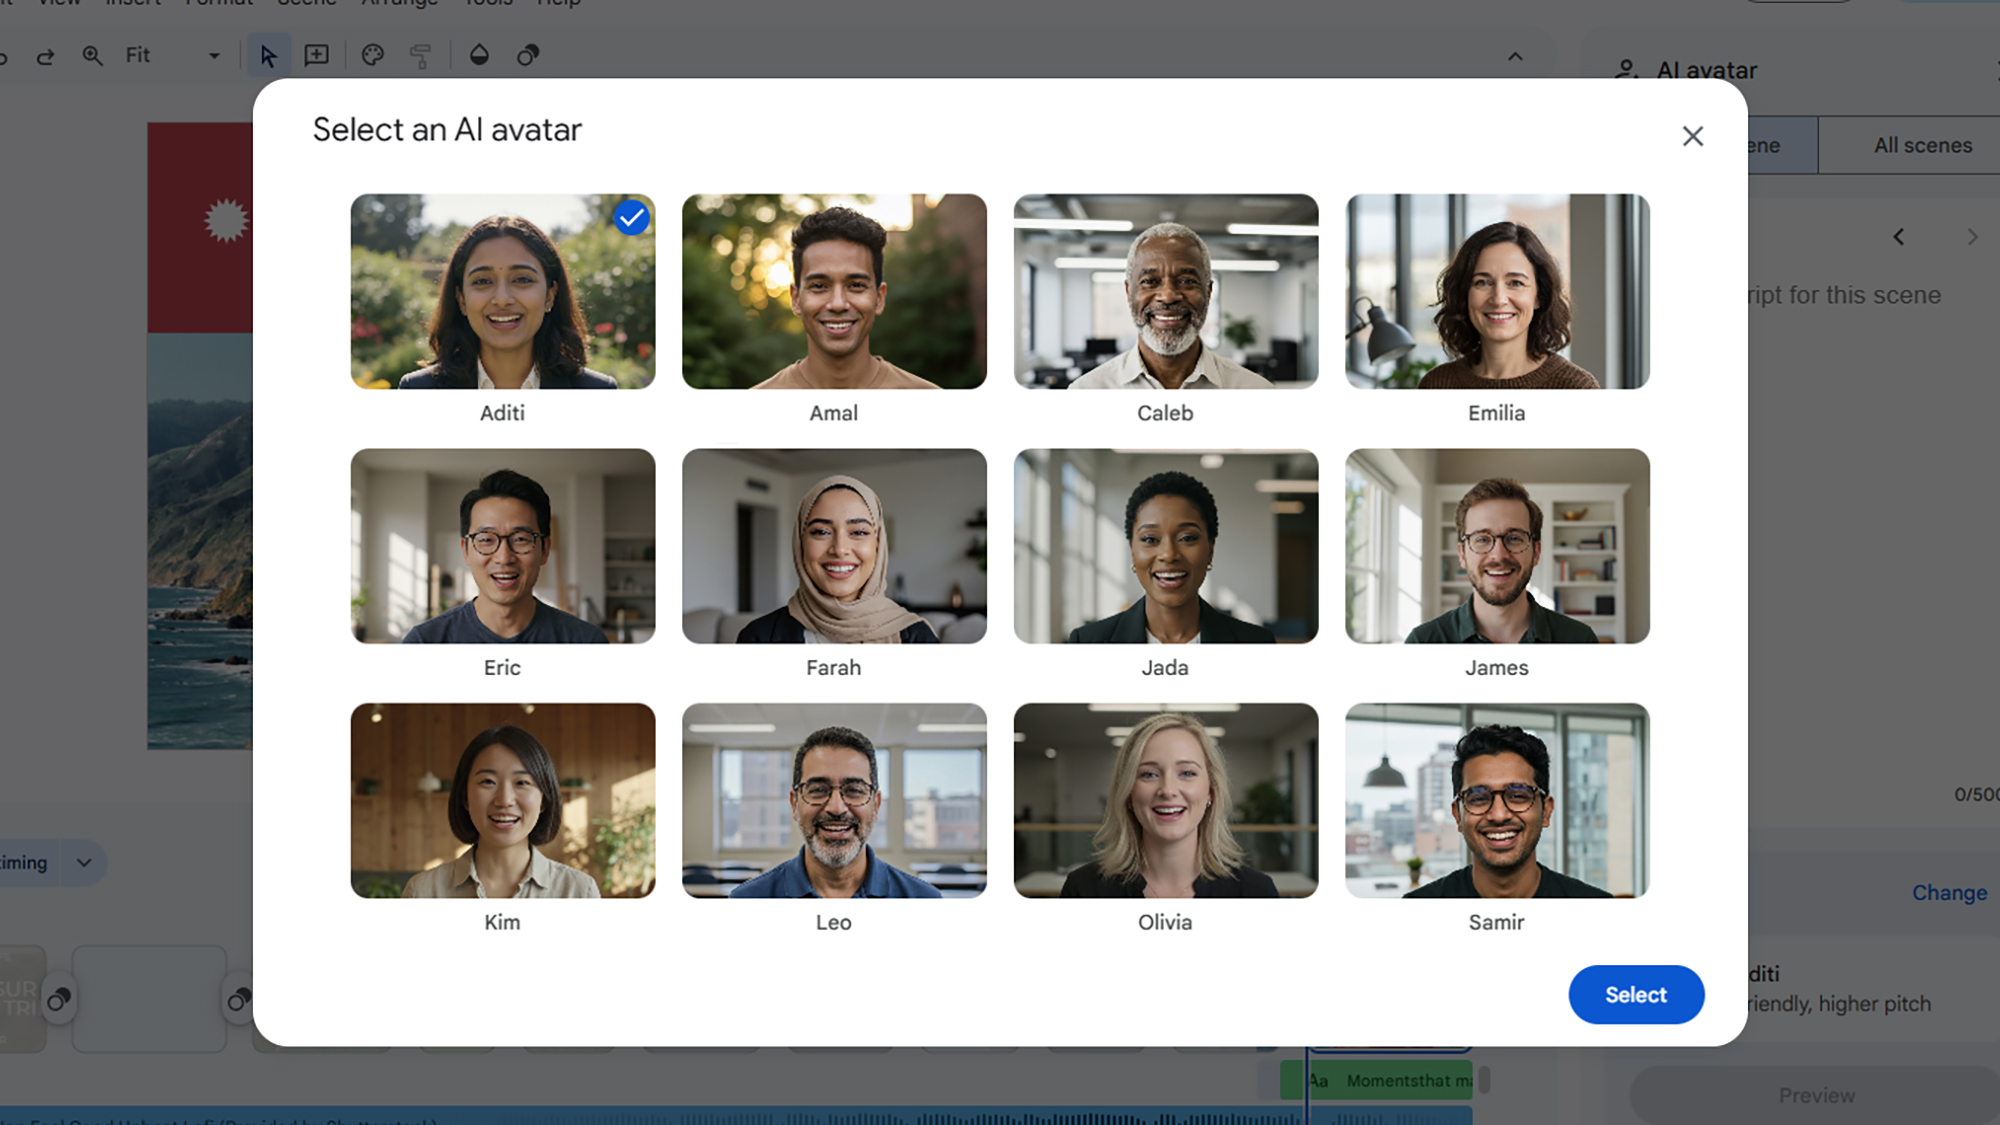
Click Veo and Avatars on the right to add some AI magic to your project (if you’re signed up to a suitable plan). You can, for example, create an 8-second video clip for your timeline based on just a text description, or get an AI avatar of your choice to read out from a text script (you’ll be shown a preview of how it’ll look before the scene is generated).