Apple’s big iOS 26 software update for 2025 has now reached millions of iPhones, and brought with it a bunch of new features and an updated visual interface. If you own an iPhone, you’ll also find there’s a new app: Preview.
Strictly speaking, this isn’t a completely new app because it’s existed for years on macOS. However, iOS 26 marks the first time that it’s made the jump over to the iPhone—and considering how useful the app can be, it’s surprising it hasn’t happened before.
Here’s what you need to know about Preview, which should be ready and waiting in the Productivity & Finance section of the App Library and on one of your home screens once you’ve completed the upgrade to iOS 26.
What is Preview?
The history of Preview goes back a long, long way: In fact, it was available in the desktop operating system that preceded macOS, and first showed up in 1989. There aren’t many programs that have managed to survive since the 1980s and all the technological changes we’ve seen since then, but Preview is one of them.
Its simple purpose is to make it easy for you to quickly load up images and PDF (Portable Document Format) files. You don’t always want to have to wait for a big image editor or any other bulky software tool to open up just to check the contents of a file, and that’s where Preview comes in.
Down the years, it’s added more and more features on the Mac, including some basic image editing tools and the ability to digitally sign documents. Now it’s made its way over to the iPhone too, and a lot of the features and functionality are the same—it’s a quick way to view pictures and PDFs on mobile, something that was previously handled through the Files or Notes apps.
As on macOS, Preview on iOS is able to apply some basic edits to images, export your files in a variety of different formats, enter text and signatures into PDFs, and scan documents. It’s lightweight and straightforward to use, and it should help you to get more done on the go when you’re not at your computer.
You can launch Preview from the home screen, from the App Library (inside the Productivity & Finance group), or by searching for it (tap the Search button on the home screen). It’ll also spring into action when you tap on a compatible file in various other apps, including the Files app.
How do I use Preview on an iPhone?
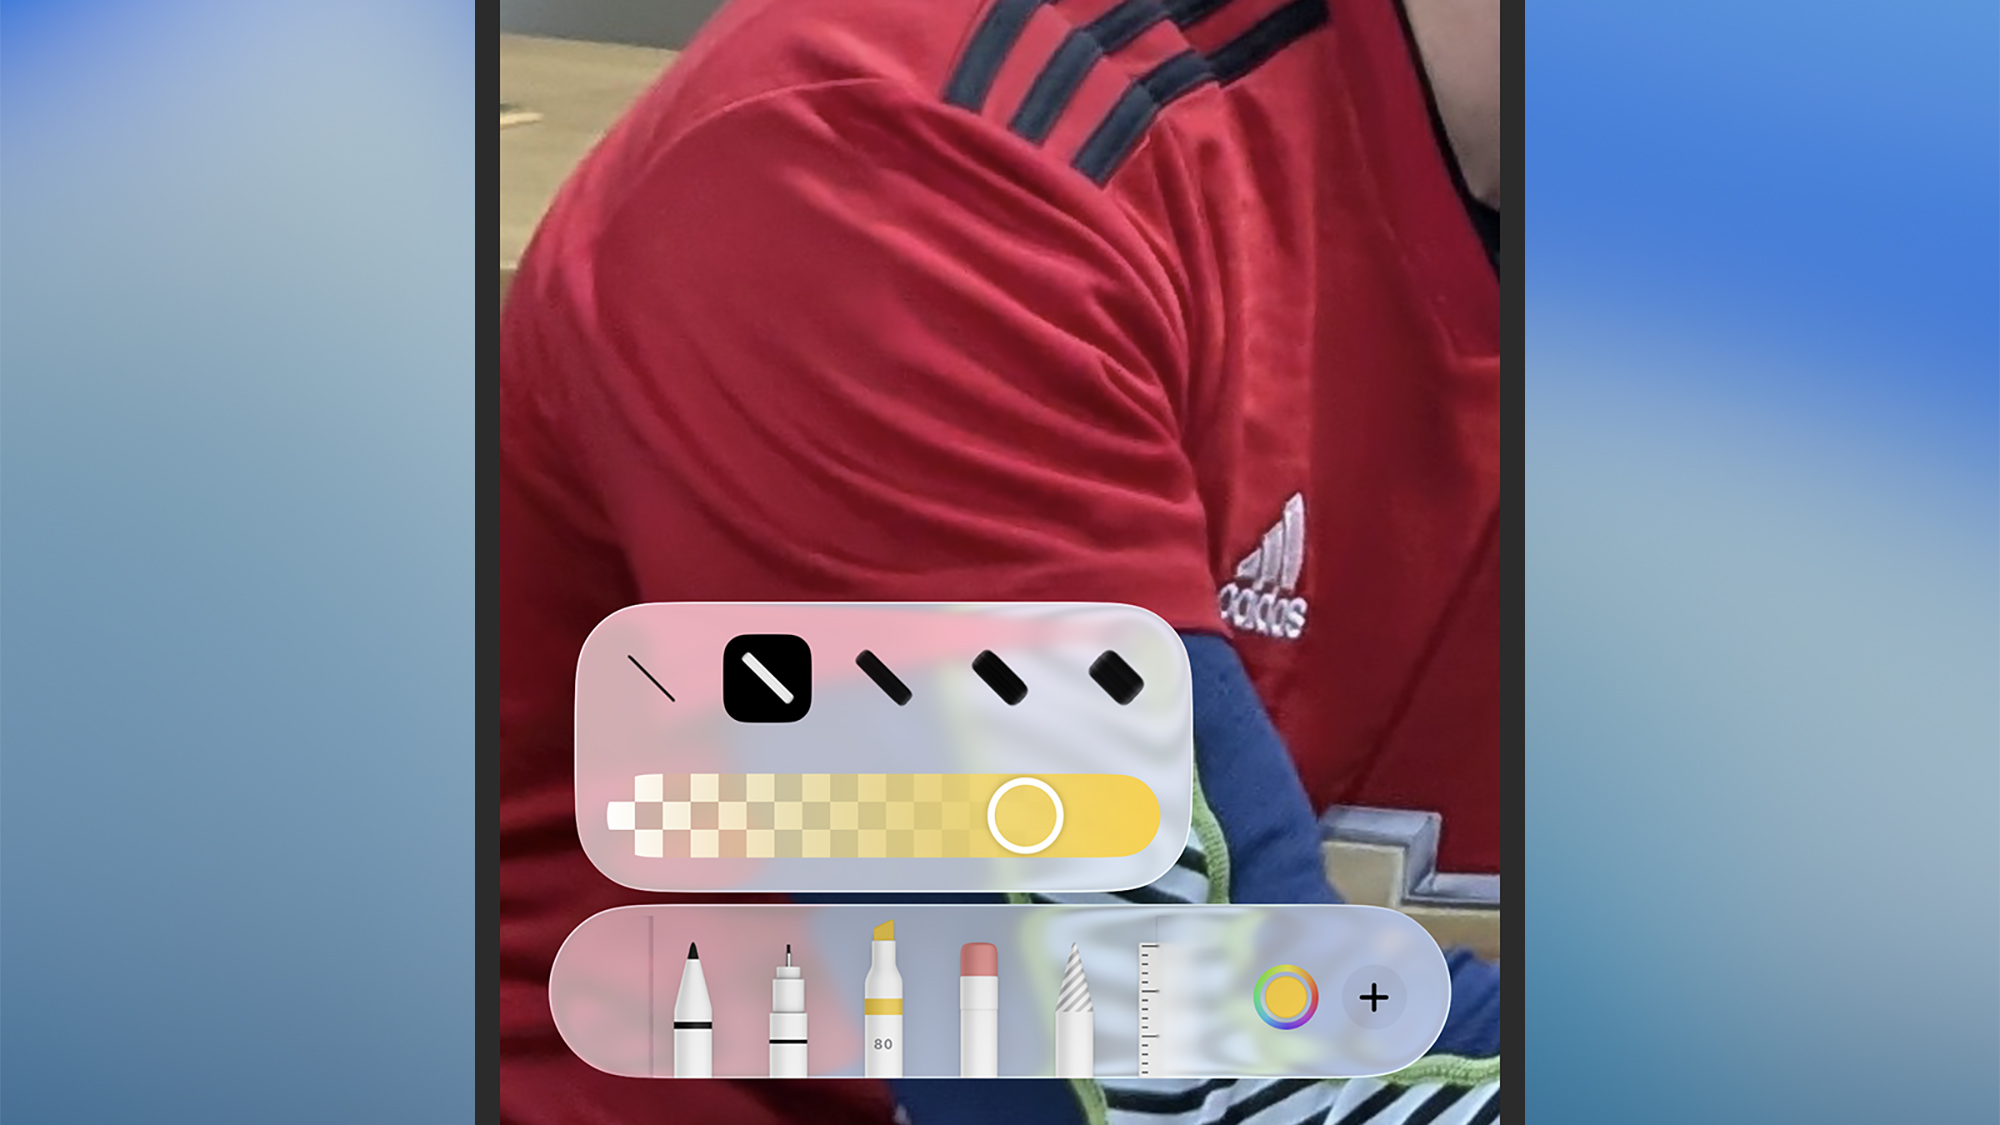
Once you’ve got Preview open and a file loaded up, the options you see will depend on the type of file it is. If it’s an image—and most image formats are supported by Preview—then you can tap the three dots in the top right corner to rotate it, change its size, flip it, and quickly remove the background (leaving the main subject of the image cut out against a white backdrop).
The two icons down in the lower left, the pen icon and the selection icon, let you annotate and crop the picture respectively. Then you have the two icons in the lower right corner, which let you bring up information about the image (the “i” icon) and send it to one of your contacts or to another app (the arrow and square icon).
If you’re working with a PDF, when you tap the three dots up in the top right corner of the screen you get options for rotating the document page you’re currently viewing, or jumping to a specific page. If you tap on a page in the document and then on the little pop-up icon on the left (showing which page you’re on), you get a thumbnail view of the pages in the PDF that you can scroll through.
The icons at the bottom are, from left to right, for annotating the PDF (by highlighting blocks of text or adding stickers, for example), adding text and signatures, cropping the document, bringing up information about the document, sharing the document, and searching through the text contained within it. Note that you can tap and hold on the PDF if you need to select blocks of text to work with.
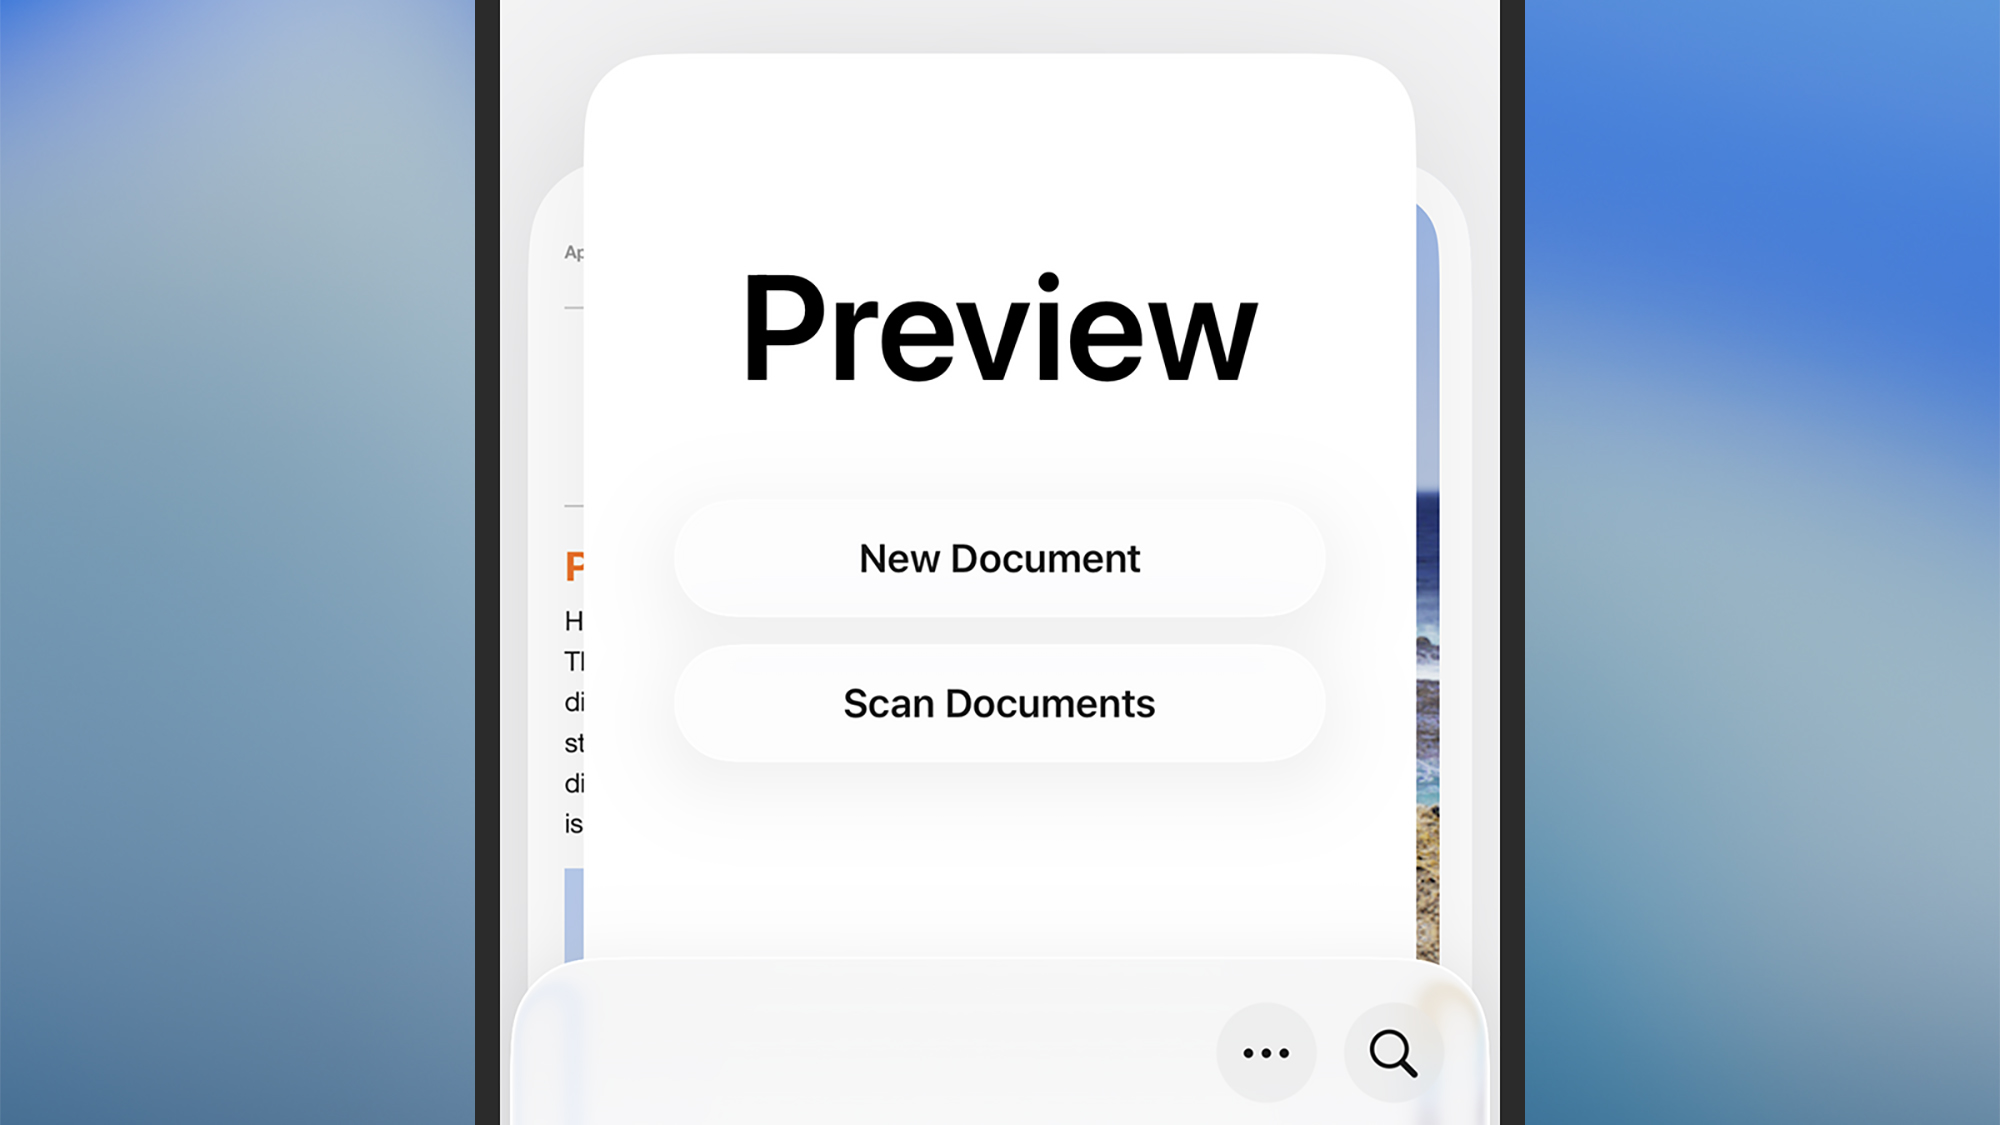
To scan a document into Preview, you need to close the current file (via the arrow, top left), then choose Scan Documents. You’ll be presented with a capture screen: Position the first page of your document in the viewfinder, and it should be automatically snapped. You can then continue adding pages as needed, or select the checkbox in the top right corner to complete the scan and save your file.

